1
Once we had dug out the floor we needed a nice new firm concrete base that we could work on.
 Drains, damp-proof and steel in place all we had to do was pour the concrete.

2
The roof was far too fragile to take the weight of anyone, so we had to fill the barn with a scaffolding platform so any unexpected falls would be only a couple of feet!

3
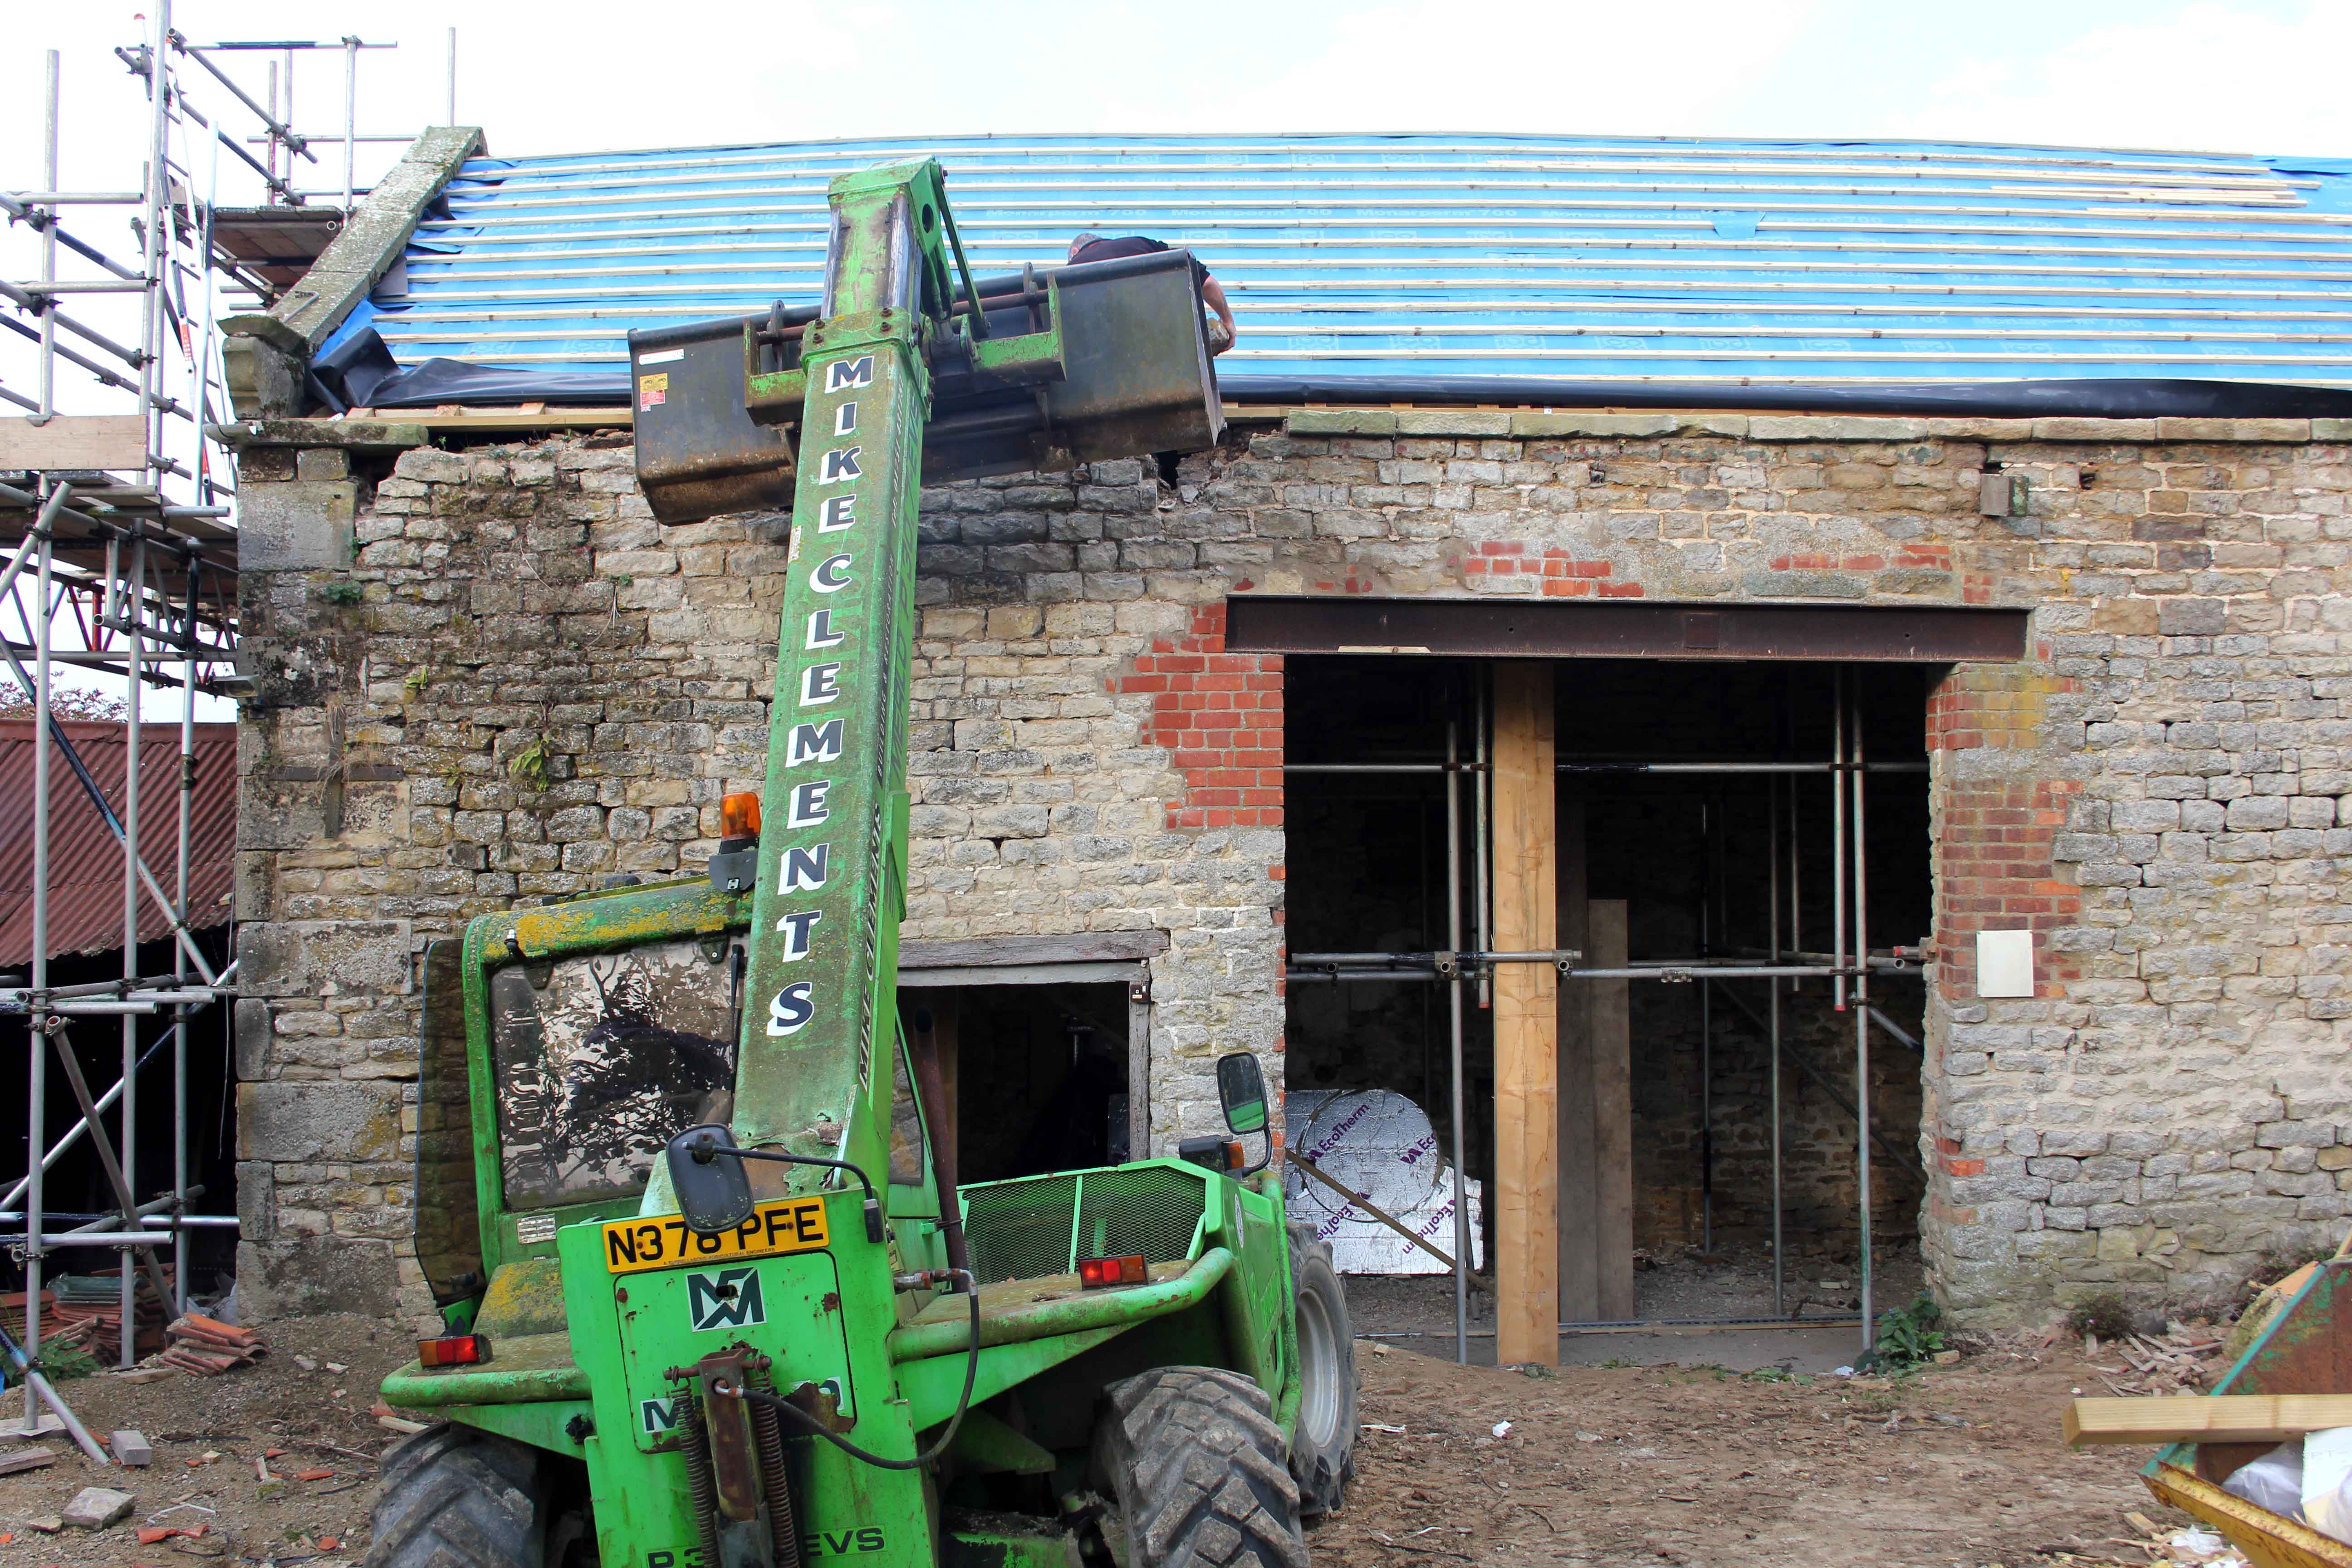
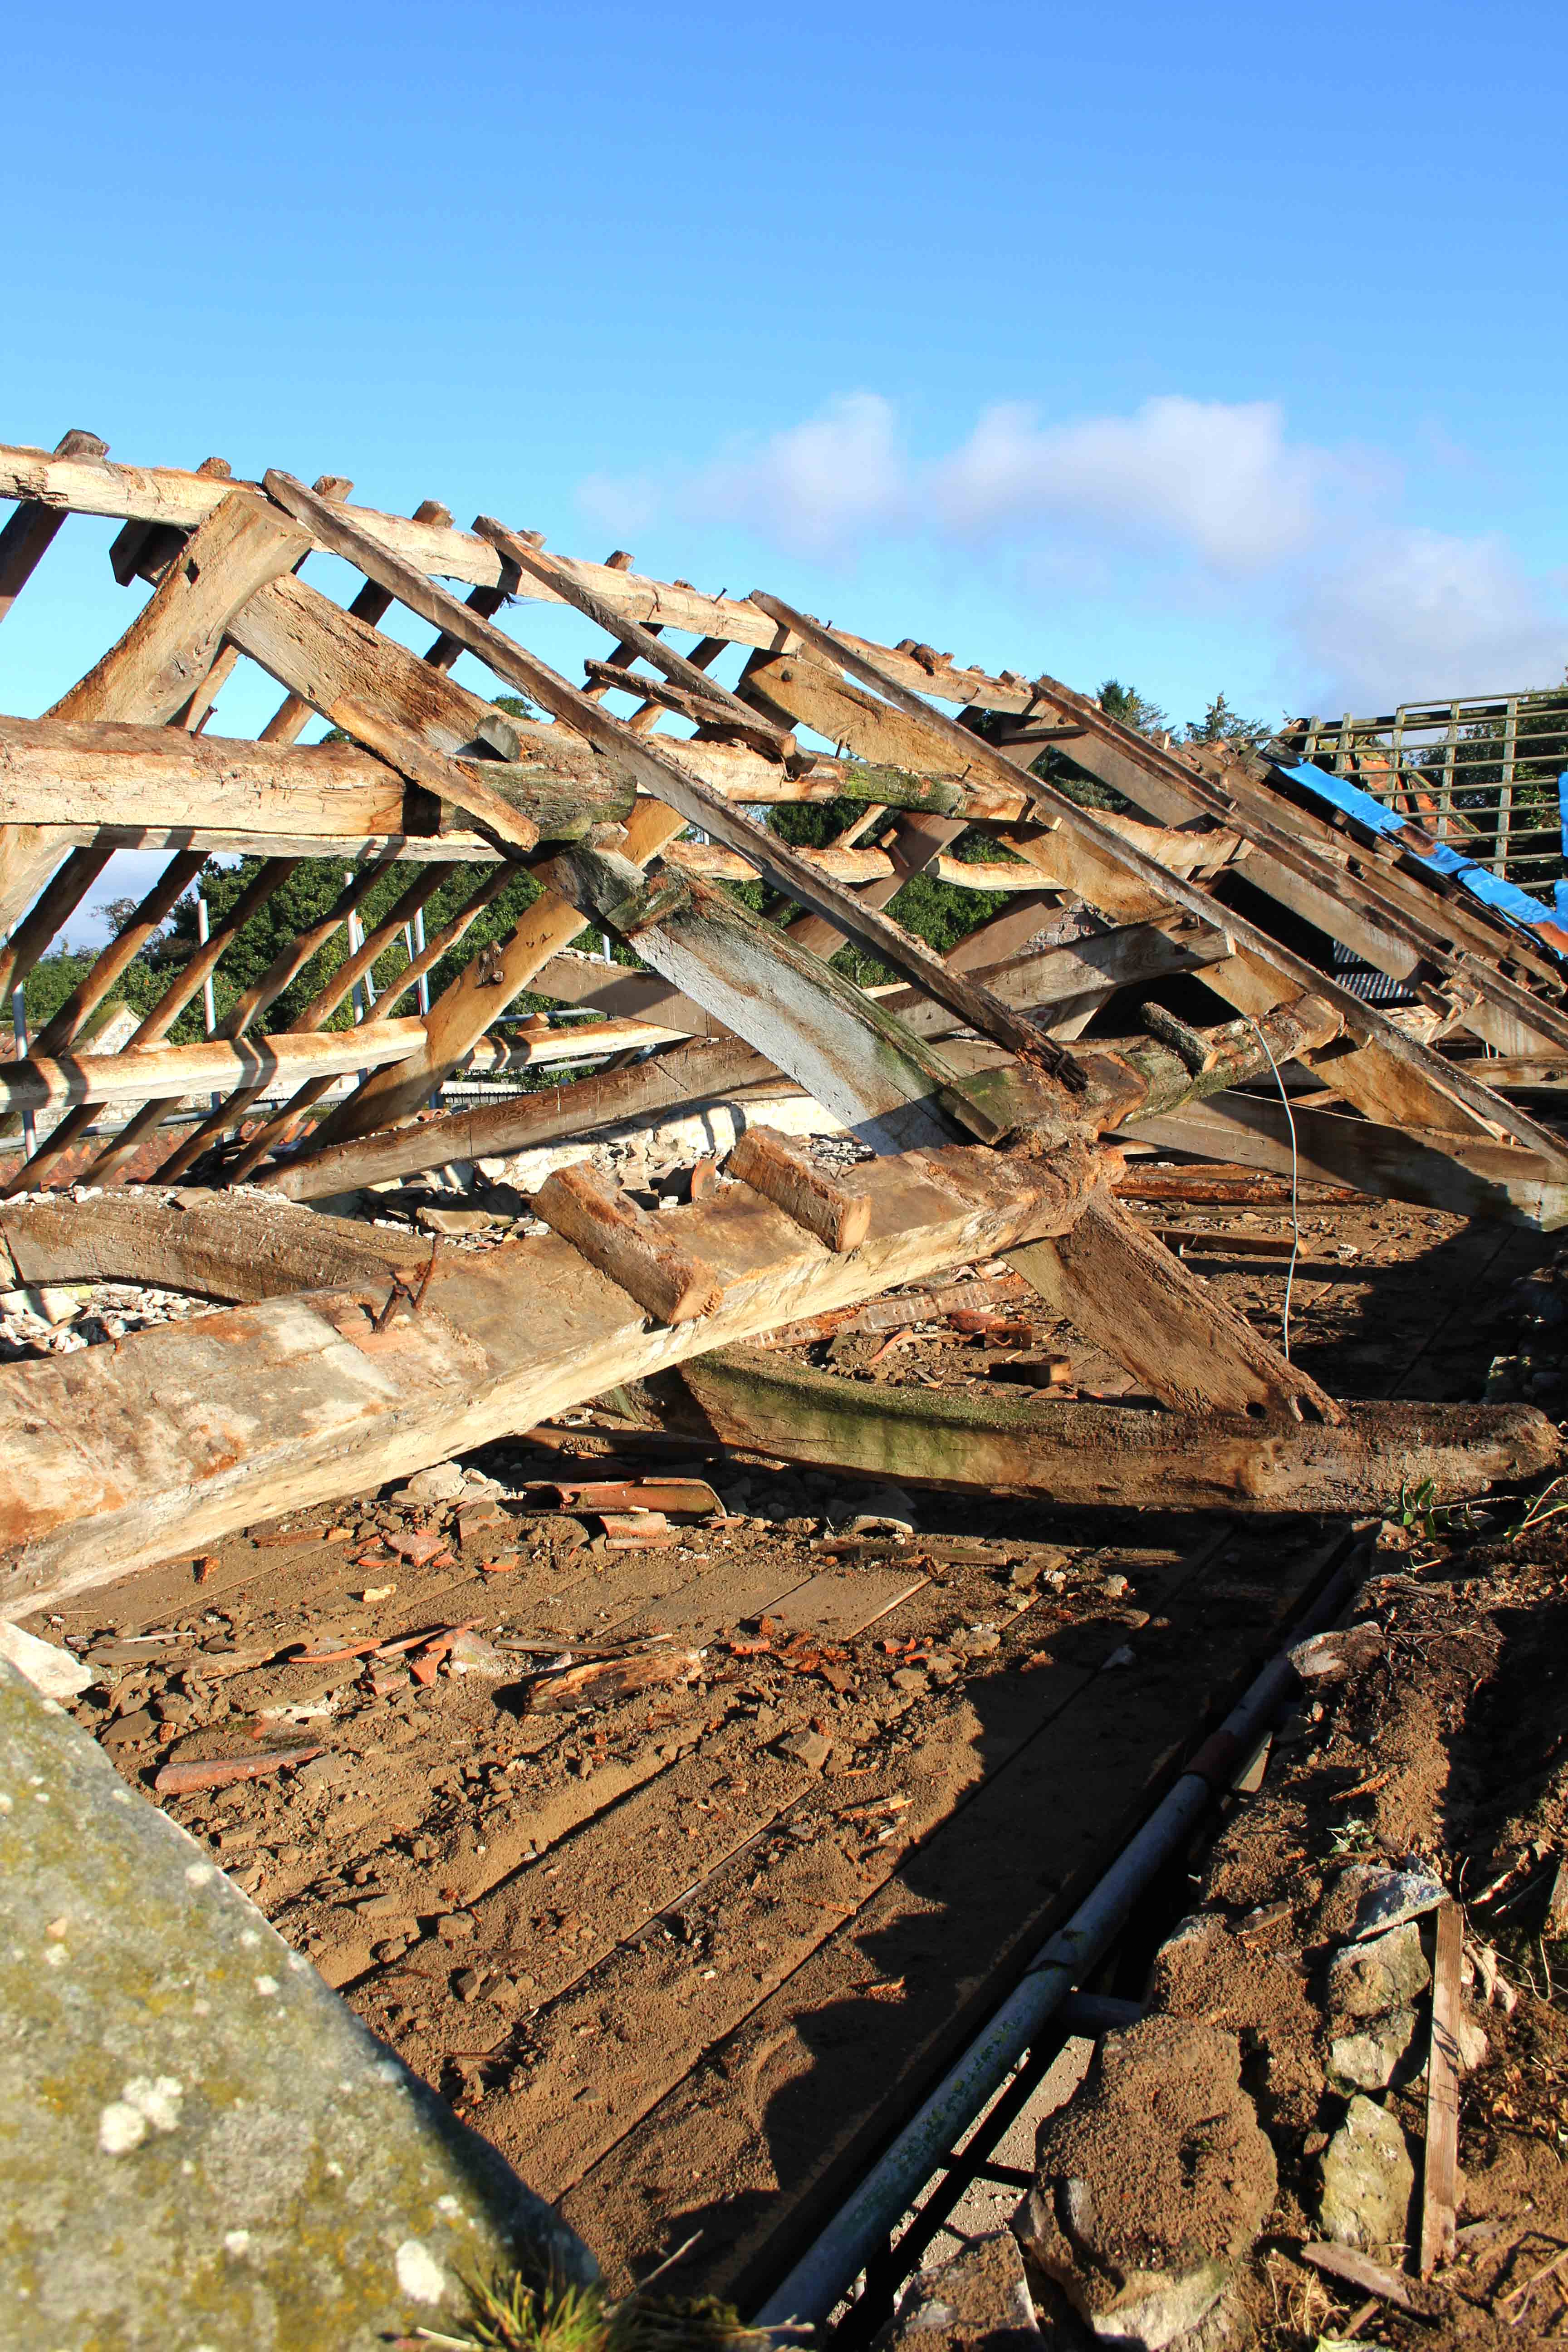
Stripping the roof,step 3 was one of the big worries, how bad were the roof timbers?

Josh and Mike removing the old felt.
The roof is beautiful, each A frame is different and we were delighted that we could save most of them and even most the purlins.
4
With the good news that the roof wasn’t as bad as we were expecting, we could then move on with rebuilding the roof. The new oak came from the Castle Howard estate, so is very local for us.
5
The roof was insulated and pre-wired with all the lighting/smoke alarm/ and emergency lighting cables. Stan our joiner has always said he could support the roof so the front wall could be removed, so at this stage the 4 huge support beams were fitted, you can see one of them anchored to the scaffold platform in the main entrance.

6
A nervous moment for us, we could in theory take the wall down ( it would have fallen at some point and taken the rest of the barn with it).
7
Rebuild the wall, we used as much of the existing stone as we could and then had to match up some re-claimed lime stone.

8


looks ab so lutely fab u lus darlings have a great christmas Geoff.xxx
That Time-lapse video was really scary, but what a result – looking fantastic!
All the best for 2015!
Xx
Wow….WOW!
We are so looking forward to staying there….
Wow what a superb transformation. Well done team Berry!